Looking to create a custom student hub in Notion? Or want to save some time by installing a pre-built, all-in-one Notion student template? You’re in the right place! I’m Mel Lee-Smith, freelance writer, Notion nerd, and English grad. Although I primarily create Notion templates for bloggers, today, I’ll walk you through how to create a Notion student hub that will keep you on track from orientation to graduation.
Note: This walkthrough is for people who are familiar with Notion’s key features, like databases, properties, filters, and relations. If you’re brand new to Notion, check out this video walkthrough.
If you’re not quite ready to make your own template, check out our full round-up on the best Notion templates for students!
Looking for more productivity tips and tools? Subscribe to The Flow — our quick, snappy, value-packed focus and recharge newsletter. Also, don’t miss our several other Notion template round-ups and guides!
Table of Contents
- How to Use Notion as a Student: Creating Your Own Functional Notion Student Template
- How to Make Your Student Notion Setup Aesthetic
 Get the all-in-one Life OS template, the only Notion template you’ll ever need — with over 25 integrated templates built in.
Creating Your Own Functional Notion Student Template: First Steps
Prefer to make your own Notion student dashboard from scratch? We’ve got you covered with a super detailed, easy-to-follow walkthrough!
Before you dive in to creating databases for your classes, assignments, and notes, we recommend setting up a student “hub” where all these pages will live.
Think of this hub as your dashboard. To stay organized and make the most use of your time when creating your Notion templates for students, keep these tips in mind.
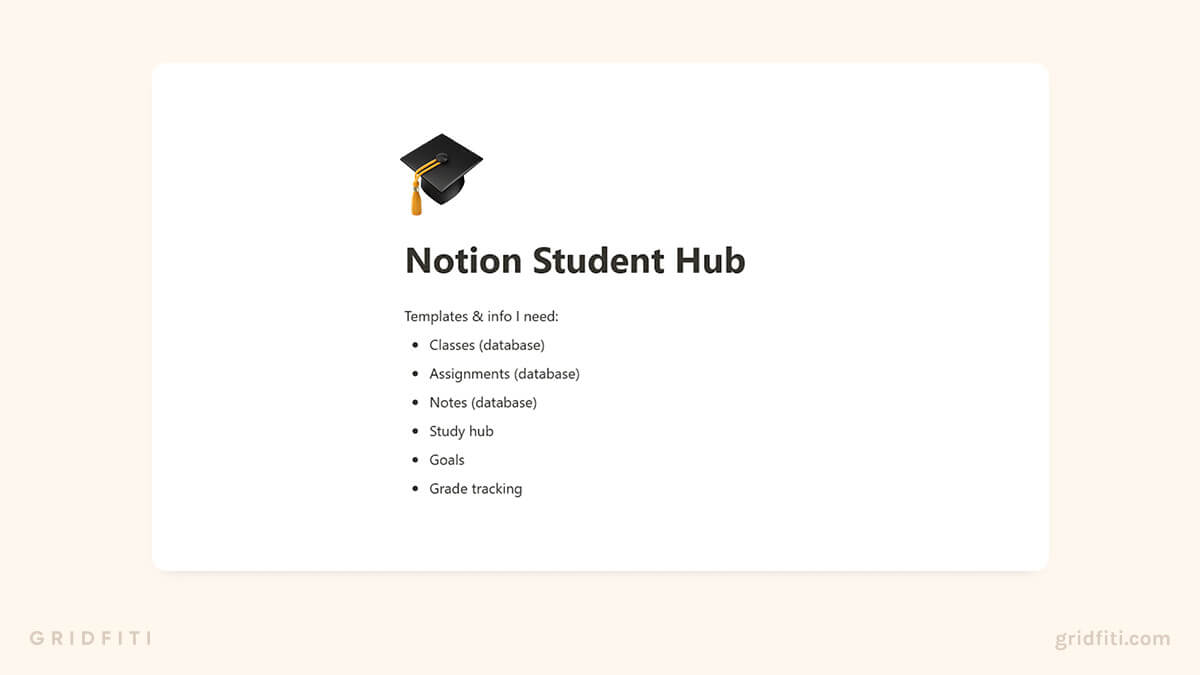
Make a list of the templates you’ll need
A bullet point list is fine — you can always turn them into pages after using Notion’s “Turn into subpage” feature.
Build it first, make it pretty later!
If you’re new to Notion, don’t be intimidated by all the aesthetic Notion student templates you see online. Explore Notion on your own, read tutorials (like this one!), and watch video walkthroughs to learn your way around Notion. Don’t give in to the temptation to add a bunch of GIFs, widgets, and pretty headers before laying the functional foundation of your student dashboard.
Use integrations to get organized once you’ve built your student dashboard
Notion’s API is in beta. You can use free apps like Automate.io, Zapier, and IFTTT to connect Notion to Gmail, Google Calendar, and dozens of other apps.
Relate all your main databases
Our setup relies on 3 main databases: Classes, Assignments, and Notes. (We recommend setting up these databases as inline tables within a page so you can customize the content around it. You can’t add other blocks to full-page databases.)
Use Notion’s “Relation” property to link these databases together. Here’s how this will work in practice. Let’s say you need a select set of notes to complete an assignment. You can use the “Relation” property between the Assignments and Notes databases for easy access to those notes right from the assignment page.
The “Linked database” command is your best friend
Notion’s “linked database” command lets you display your databases anywhere you want in Notion. Here’s what this looks like in practice, assuming you’ve created the 3 databases we listed above and related those databases to each other.
Let’s say you want to see all your assignments and notes for one of your classes right in the page in your Class database. Here’s what you need to do:
- Navigate to your Class database.
- Open the page for the class (for example, ENG 101).
- Click into the body of the page, then type “/” followed by “linked” and select the “linked database” option.
- Select your Assignments database.
- In the top right-hand corner of the newly linked database, Select Filter ➤ Add a Filter ➤ Add a Filter again.
- Set the filter to these parameters: “Where [Relation to Assignments database] contains [class you want to see]”
- Repeat steps 2-5 for your Notes database.
Note that any changes you make in the linked database will appear in the main page and vice versa.
Notion Student Templates: Step-by-Step Walkthroughs
Now that you know some first steps, read on to learn how to set up each page in your student dashboard!
Schedule & Syllabus Planning
If you’re a Type A person who likes to get the ball rolling as soon as possible, start setting up your Notion student dashboard before you even choose your classes. But don’t worry if you’ve already chosen your classes, or even if you’re halfway through college. You can start using Notion to organize your academic life at any point!
Once you’ve chosen your classes or received your schedule, create a database to store them using this step-by-step walkthrough.
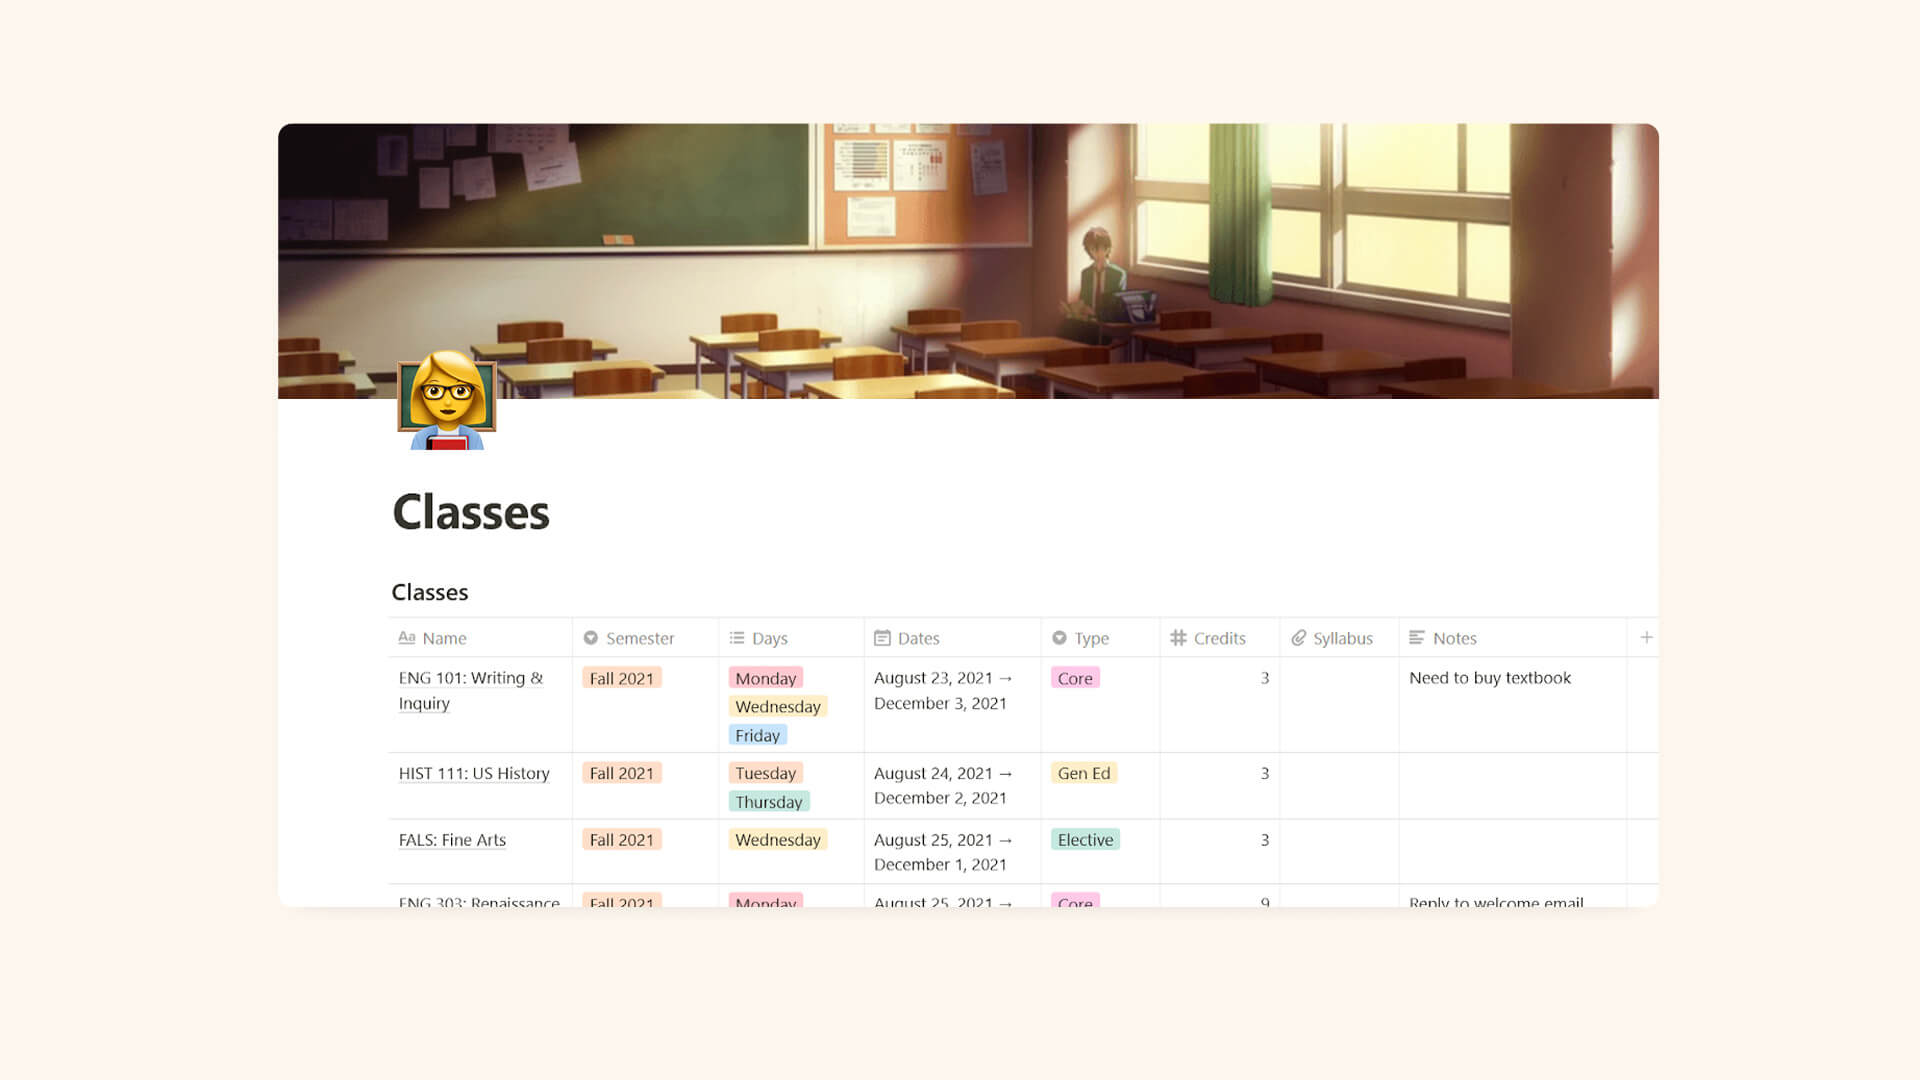
Setting Up Your Class Schedule Database
Here are a few properties you might want to include in your class schedule template:
- Semester (Select property) — Indicates which semester you’ll take each class. You might want to add a year to each entry — for example, Fall 2021 or Spring 2022.
- Days (Multi-select) — Notion doesn’t currently allow for recurring tasks. If you set up a multi-select property with entries for each day of the week, you can easily see your class schedule in a Board view without having to duplicate a year’s worth of classes. (We’ll cover Notion views in the next section!)
- Dates (Date) — We recommend adding an end date, starting with your first day of class and ending with your last. This will come in handy for your Calendar and Timeline views.
- Class type (Select) — American universities split classes up into 3 main types: electives, core classes, and general education classes.
- Credits (Number) — If your classes count for a certain number of credit hours, add them here. At the bottom of the table, you can automatically add the number of credit hours you’ve earned or are working toward.
- Notes (Text) — Store quick notes and reminders in a Text property.
- Grade (Number) — Quickly see your current grade for the semester.
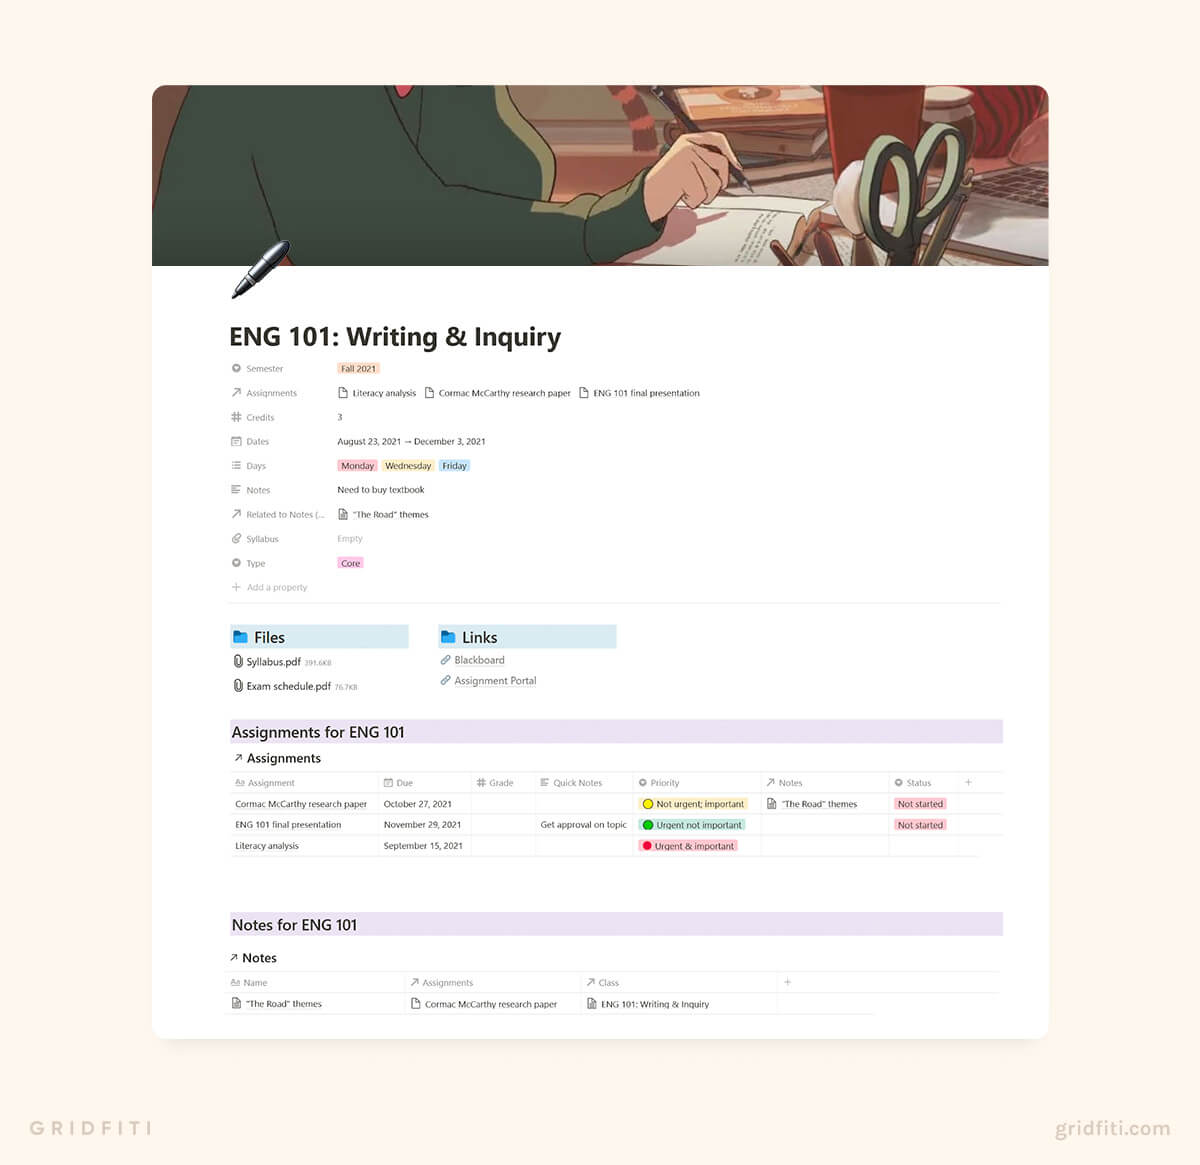
Adding Relevant Materials to Each Class Page
Now that you’ve set up your class schedule database, it’s time to start organizing your materials.
In your database, create a new page for each class. Then, open that page and start customizing it. Here are a few things you might like to add:
- Your class syllabus (either as a file or embedded PDF)
- Exam schedule
- Links to resources, books, or assignment submission platforms like Blackboard, Canvas, or Google Classroom
- Embedded PDFs of reading materials
- Backups of your assignments
💡 Pro tip: You can also add a list of your assignments for that class using Notion’s “linked database” command. We’ll show you how to set up an Assignments database below.
Customizing Your Class Schedule Database With Filtered Views
Cool, so you’ve created your class schedule database and uploaded your materials. But how do you filter this database to show only classes you’re taking this semester, or only core classes within your major?
That’s where Notion filtered views come in.
Here’s a text walkthrough on how to set up your own filtered views:
- In the top left-hand corner, next to the title of your database, click “Add view”.
- Select the view you want (I recommend Table).
- Give your view a title — something like “This Semester” or “Core Classes”.
- In the top right-hand corner of the database, click Filter, then “Add a filter” and “Add a filter” again.
- Set your parameters. For example, if you want to see classes this semester, select “Where [Semester] is [Current semester]”
- Voila!
💡 Pro tip: To save yourself a few clicks, duplicate your views and reset the parameters. To do this, click the dropdown next to your database title to see all your views. Open up the menu (the 3 dots on the right-hand side), then select “Duplicate” at the bottom.
Here are a few views you might want to set up:
- Classes this semester
- Classes next semester
- All classes this year
- Core classes
- General education classes
- Electives
Assignments & Deliverables
By now, your class schedule is looking nice and tidy. Now it’s time to set up your Assignment hub. Follow this step-by-step walkthrough to simplify this process and stay ultra organized all semester!
Setting Up Your Assignments Database
When you create your assignments database, the first thing you need to do is create a Relation to your Class schedule database. This will link all your assignments to each class. This means, whenever you’re looking at your class schedule, you can see all your assignments at a glance. Here’s how to relate your Class and Assignments databases:
- Create a new database and title it “Assignments” (or whatever you want).
- Add a Relation property to your new database.
- In the pop-up window, choose your Class database.
- Rename the Relation property (“Class” works fine).
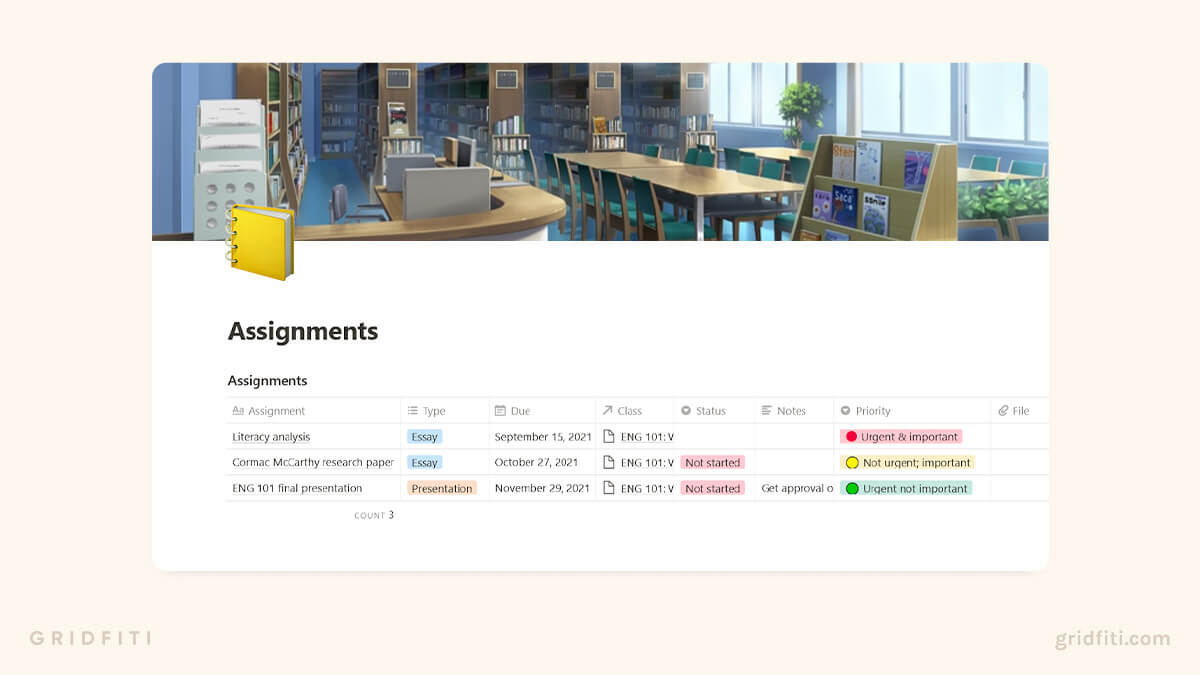
Now that’s done, it’s time to start adding properties to your assignments database:
- Assignment (Title property) — A quick description of the assignment.
- Type (Select or Multi-select) — Essay, lab report, presentation, portfolio, exam (you get the idea).
- Due (Date) — Due date of the assignment. Include end dates and times, and set reminders if needed.
- Status (Select) — What stage the assignment is in (not started, in progress, completed, etc.).
- Priority (Select) — Keep it simple with “high/medium/low”, or get granular with priority systems like the ABCDE Method or the Eisenhower Matrix. (We’ve covered both methods in the section on Goals & Habits below.)
- Notes (Text) — Lets you add quick notes about the assignment that you can see in the database view.
- Files (File) — Upload a file version of the assignment or the instructions.
- Link (URL) — Link to resources, instructions, or a cloud version of the assignment.
- Final grade (Number) — Makes it easy to calculate your average.
💡 Pro tip: Create filtered views to see assignments in context. Maybe you want a view of assignments due this week, or you’d like to see a timeline view of assignments due for each class. We covered how to create filtered views in the Schedule & Syllabus section above.
Writing Your Assignments in Notion
If you really want to keep everything in one place, you can even write your assignments right in Notion. Simply open the page for the assignment you’re working on and write it in the body. Although Notion doesn’t allow for page margins or other formatting elements required by APA and Chicago style, the block format makes it easy to copy and paste your content into other apps, like Google Docs and Microsoft Word.
If you don’t want to create your assignments in Notion, you can use each page as you see fit — brainstorming, note-taking, or anything else you need to stay on track. You don’t have to open the pages at all if you don’t want to. That’s the beauty of Notion!
Notion Student Note-taking
Notion’s clean and minimalist yet versatile interface makes it the ultimate solution for note-taking. We recommend setting up a separate database for your notes, just like you did for your classes and assignments. All 3 databases should be related to each other.
Related Post: Notion Note-Taking Templates
Here are a few of our top tips for taking good notes in Notion:
Embed articles and webpages for convenience
If you’re taking notes from an article or web page, use the “Embed” command to display the article right in Notion. (This won’t work for every page, but it will work for most.) This way, you can take notes right alongside your reading material!
Customize your notes for your preferred note-taking system
If you use the Cornell note-taking system, create a column on the left-hand side of your notes where you can reflect on what you learned, test your knowledge, and jot down questions.
Set reminders to review your notes later
You’re more likely to retain information from your notes if you review them 3 times — first within 24 hours, then the next day, and again later in the week. Once you’re done taking notes, set reminders for these times so you don’t forget.
Think about what you’re learning as you take notes
What’s difficult or tripping you up? Have your views about the topic changed, and if so, why? Leave yourself space to “think” about your notes in your Notion pages.
Notion for Studying
If you’re storing your notes and assignments in Notion, it makes sense to use Notion as a study hub too. Here are some pro tips for making your Notion study hub an inviting, productive place to study:
- Use highlights and text colors to draw your attention to important topics. Colors and highlights make it easy to pick out important info or things to review as you’re skimming your notes.
- Leave yourself comments and reminders. Type “@” in a Notion page followed by a date to set a reminder. On the day, you’ll receive a notification reminding you to revisit those notes. Alternatively, use the “Comment” Notion slash command to leave yourself a comment.
- Embed a Spotify playlist. Channel your inner lofi girl and embed your favorite study playlist right in Notion. Need some inspo? Check out our favorite study playlists.
- Create a study schedule. You may want to create a separate database for your study schedule. Link this database to your Classes, Assignments, and Notes databases to stay on track. Or, just set reminders in your assignments and notes entries.
- Add motivational quotes. Later in this article, you’ll learn how to create your own quote widgets. But if you prefer a minimalist setup, use Notion’s “Quote” block and paste in your favorite study mantra.
Notion Grade Tracking
You’ve tackled the easy part. Now comes the nerve-racking part — tracking your grades in Notion.
The easiest way to track your grades in Notion is to add some new properties to your Assignments database. (To give credit where credit is due, we watched this video to bring you this tutorial.)
Add these properties to your Assignments database:
- Weight (Number) — Edit the number so it’s a percentage.
- Weighted Grade (Formula) — Use this formula to calculate the weighted grade: “prop(“Grade”) * prop(“Weight”)”
Once you’ve added those properties and set up the formula, scroll to the bottom of the table and select “Sum” underneath the “Weighted Grade” column. And presto! You can see your final grade for the semester. Don’t forget to set up filtered views for each class to see accurate numbers.
💡 Pro tip: In your student dashboard, add a link to this handy final grade calculator to figure out what you need to make on your exams to get the final grade you want.
Goals & Habits Using Notion
Your Notion student hub is nearly complete! Just one more template left to go: goals and habit tracking. Whether you want to set up a robust goal tracking database with fancy formulas and filters, or you just need a simple checklist, the possibilities are endless. If you need some inspiration, check out our favorite Notion habit tracking dashboards.
Tips for setting and reviewing your academic goals in Notion
Keep these 2 tips in mind when setting up your goal tracking system in Notion.
Add reminders, affirmations, and motivational quotes to stay on track
It’s so easy to procrastinate on studying for that big exam and binge your favorite Netflix show. Add some affirmations and reminders in your student goal tracker to motivate yourself when energy is low.
Review your goals every week
Assessing your progress every week keeps your goals fresh in your mind, making you more likely to meet them and less likely to procrastinate. Consider creating a template with review questions like:
- How do I feel about my productivity and progress this week?
- Did I take adequate time for self-care this week?
- Am I getting enough sleep?
- Am I exercising enough and eating healthy foods?
- How can I improve next week?
💡 Pro tip: You can easily create a Notion progress bar to help you keep track of your goals. Read the full guide here!
How to Make Your Student Setup Aesthetic
If you’ve followed this walkthrough in sequence, your Notion student templates are solid, functional, and ready to be beautified! Here are a few tips for turning your Notion student dashboard into an inspiring, visually pleasing space.
Aesthetic Notion Student Template Ideas
Need some ideas for sprucing up your setup? Check out our curated aesthetic Notion templates and setups!
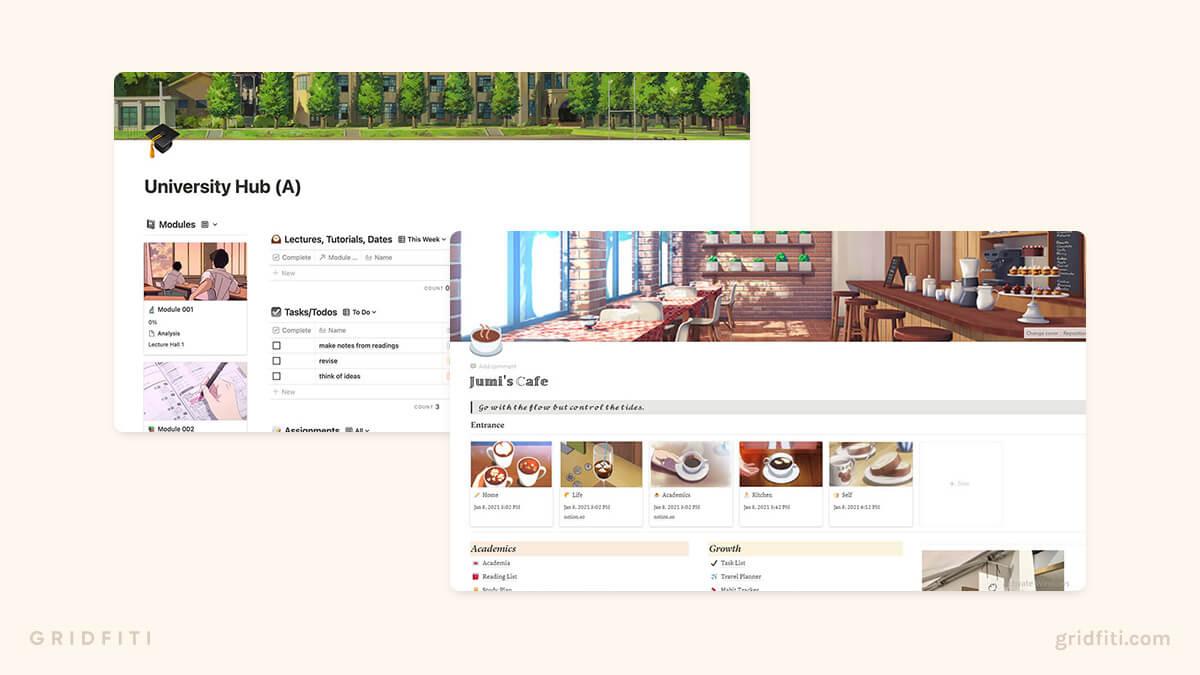 Setups by notioncrossing and @jumistars
Notion Student Cover Photos
When it comes to adding covers to your Notion student templates, the only limit is your imagination. You’ll find tons of gorgeous images to pick from in our Notion cover photos roundup. Or, if you’re so inclined, you can make your very own in Snappa. Snappa has tons of graphics, stock photos, and unique fonts so you can truly make a one-of-a-kind cover.
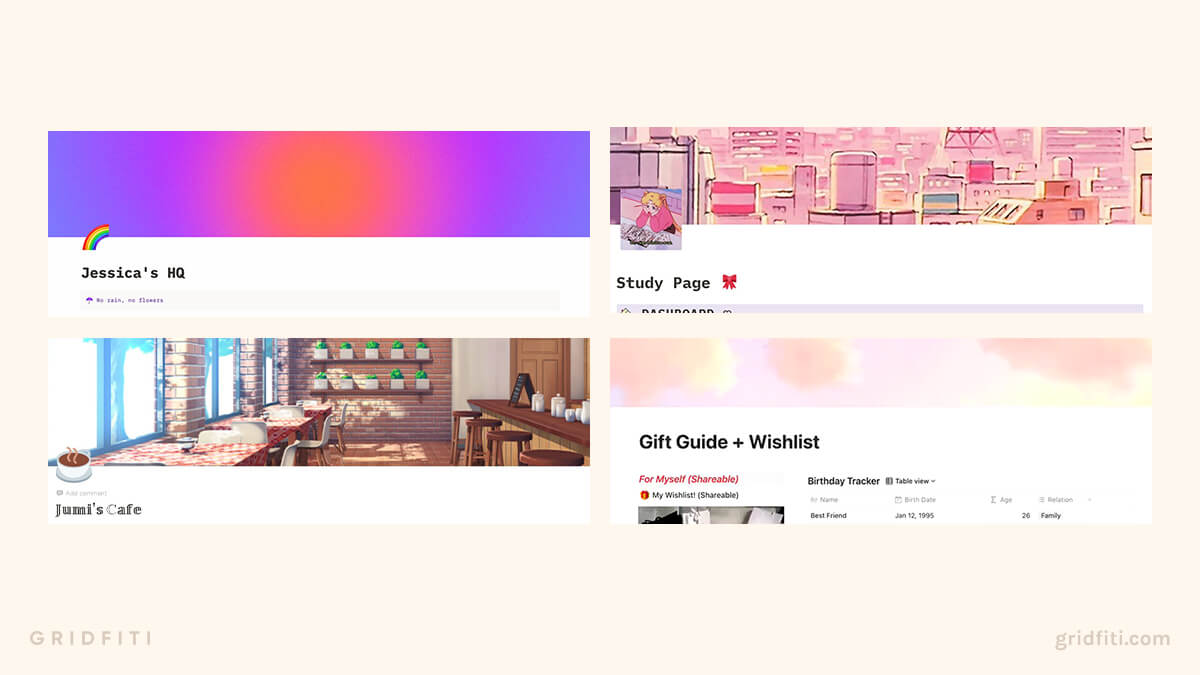 Setups by @daphnedi_, @jumistars, Beloved Ocean
Notion Student Icons
Icons not only make things easier to find and organize in your Notion setup, but are a cherry on top for making your student setup look and feel perfectly yours. Check out some of our favorite Notion icons to get started!
![]()
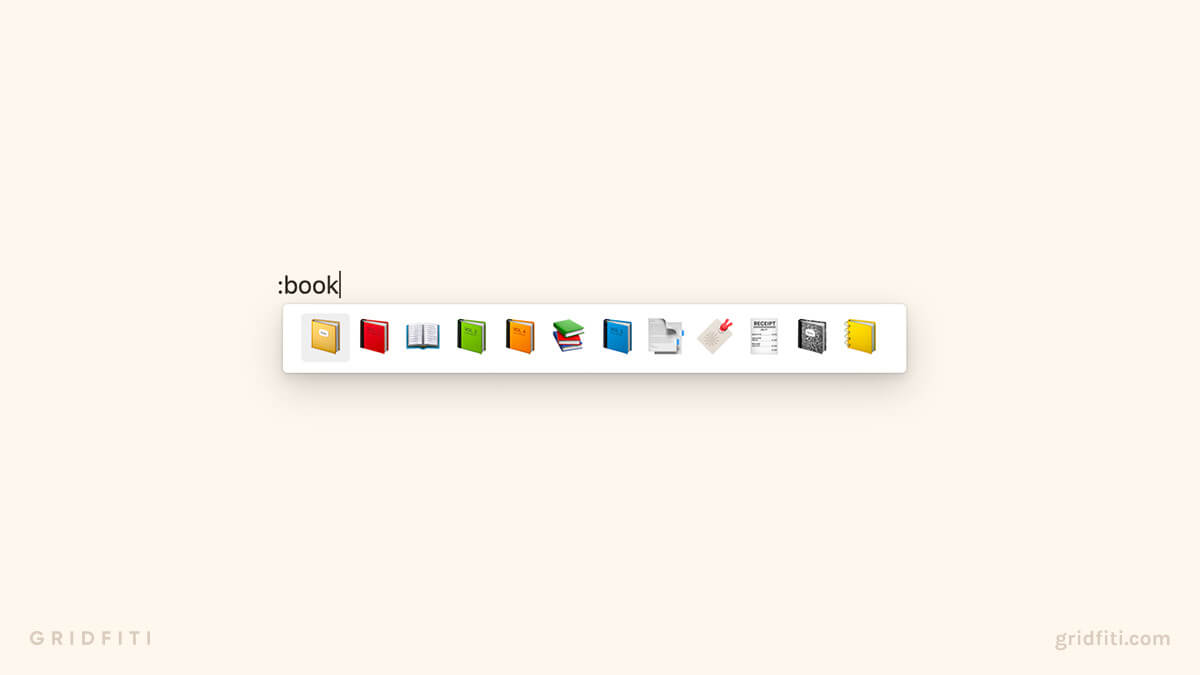
Emojis
Emojis are super useful for replacing bland bullet points or adding a visual element to database properties. To add an emoji to your Notion pages, type “/” on your keyboard, followed by “emoji”, then select “Emoji” and choose the one you want. If you know exactly which emoji you’d like, simply type “:” followed by your search query!
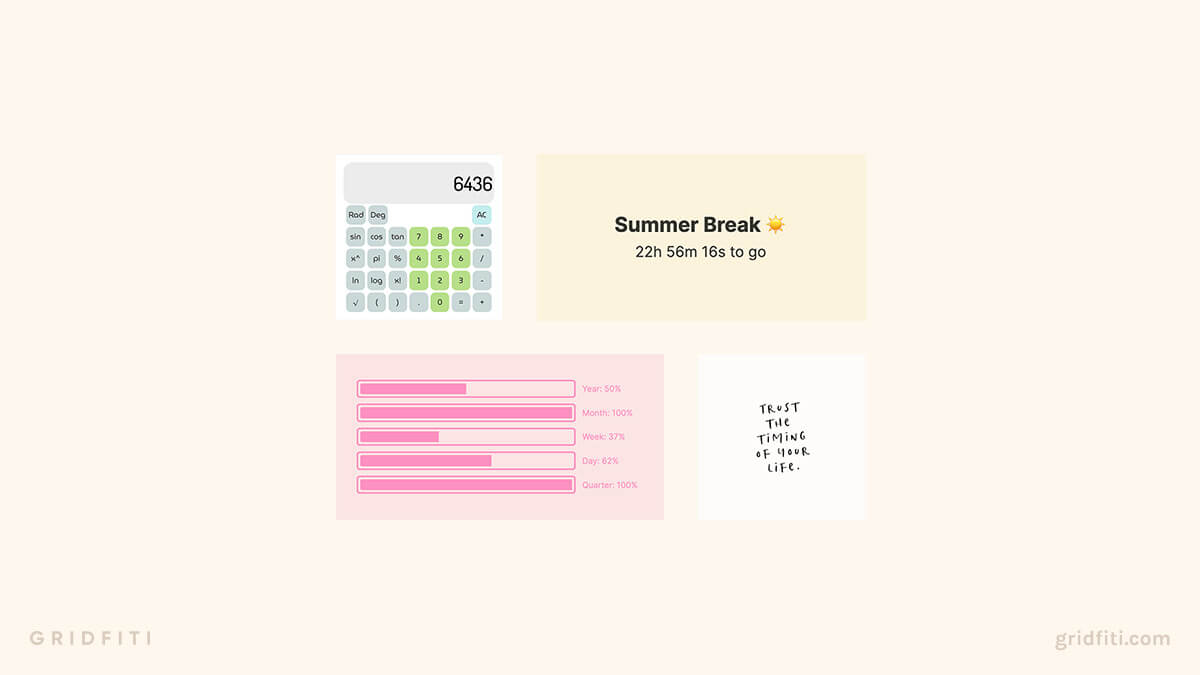
Notion Widgets for Students
Indify has tons of widgets built for Notion. Here are a few of our faves that are especially useful for students:
- Countdown — for counting down the days ’til the end of the semester
- Buttons — for making external links more visible and colorful
- Counters — for tracking assignments completed/remaining
- Images — for ✨aesthetic✨ reasons
- Quotes — for staying motivated and energized
You’ll need to make an Indify account, but once you do, you can create as many custom widgets as you like. Check out our full roundup on the best Notion widgets for more – including calculator widgets, Pomodoro timers, and more!
Using Notion as a Student: Wrapping Up
Phew! We know that was a lot to take in, so feel free to bookmark this post (or save it to Notion) and revisit it later. Whether you’re using this tutorial to build your own Notion student dashboard, or you’ve duplicated some of our favorite templates, we’d love to hear from you!
How are you using Notion to organize your academic life? Got any suggestions for this tutorial? Hit us up in the comments.
 Mel Lee-Smith is a freelance writer, managing editor, and Notion nerd. She uses Notion to organize every element of her work life, and most elements of her home life! She wishes Notion existed back in 2016, when she earned her master’s degree in creative writing. Like most writers, she loves coffee, cats, and colorful pens. She lives in Ireland with her husband, Adam, and her calico, Boo. Follow her on Pinterest or connect with her on LinkedIn to chat about all things writing and Notion.