Time blocking is a beautiful way to visualize your schedule and move through your day with clarity and confidence – and Notion is one of the best time-blocking tools out there. Read on to learn how to set up a time blocking system in Notion. Whether you’re a Notion newb or a power user, you’ll find a method here that suits your needs!
Looking for more productivity tips and tools? Subscribe to The Flow — our quick, snappy, value-packed focus and recharge newsletter. Also, don’t miss our several other Notion template round-ups and guides!
Get the all-in-one Life OS template, the only Notion template you’ll ever need — with over 25 integrated templates built in.
How to Time Block in Notion
There are 2 ways to time block in Notion: create a simple table, or set up a time blocking database.
The first method is the simplest and least involved, but it does have some limitations. That’s why we prefer the second method: using a time blocking database.
Method 1: Time Blocking in Notion with Simple Tables
As we mentioned, creating a simple table is the quickest, most user-friendly way of time blocking in Notion. Here’s how to set it up.
- Open the Notion page where you’d like to create your table.
- Type the slash key on your keyboard to open up Notion commands.
- Type “Table”, then select “Table” under “Basic Blocks.”
- Start customizing your table.
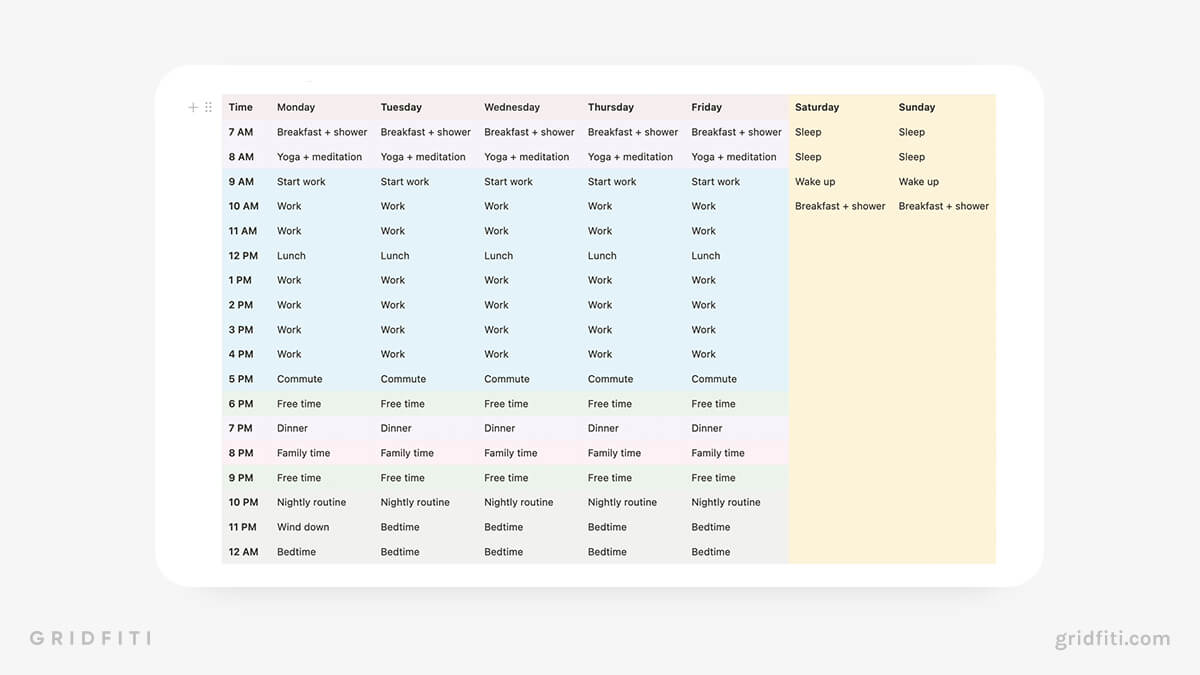
- If you’re time blocking for one day, we recommend adding 2 columns (one for “Time” and one for “Task”) and 20 rows (if you’re blocking by the hour).
- If you’re time-blocking for the whole week, we recommend adding 8 columns (one for each day of the week, plus one for the hourly slot) and 20 rows (if you’re blocking by the hour)
Once you’re done, your time blocking table might look something like this:
Limitations of Using Simple Tables for Time Blocking
- You’re limited only to one view of your schedule. You can’t create Calendar or Board views with a simple table — that’s one reason why we recommend creating a time blocking database instead.
- Your rows and columns might be different sizes depending on the amount of text you add to each cell. This means your table might look somewhat messy and inconsistent once you’ve added all your blocks.
- You can’t change the background color of a single cell in Notion. You can only set the background color of the whole row or column. However, you can get around this by highlighting the text in each cell and setting the background color of the text. This will only color the text and not the whole cell, though.
Now that we’ve walked through how to use simple tables for time blocking, let’s cover the second method: using a database to time-block in Notion.
Method 2: Notion Time Blocking Database
There are virtually unlimited ways to set up your time blocking database. You might choose to create new pages for each hour of the day, then add tasks you’d like to tackle during that hour block in a separate property.
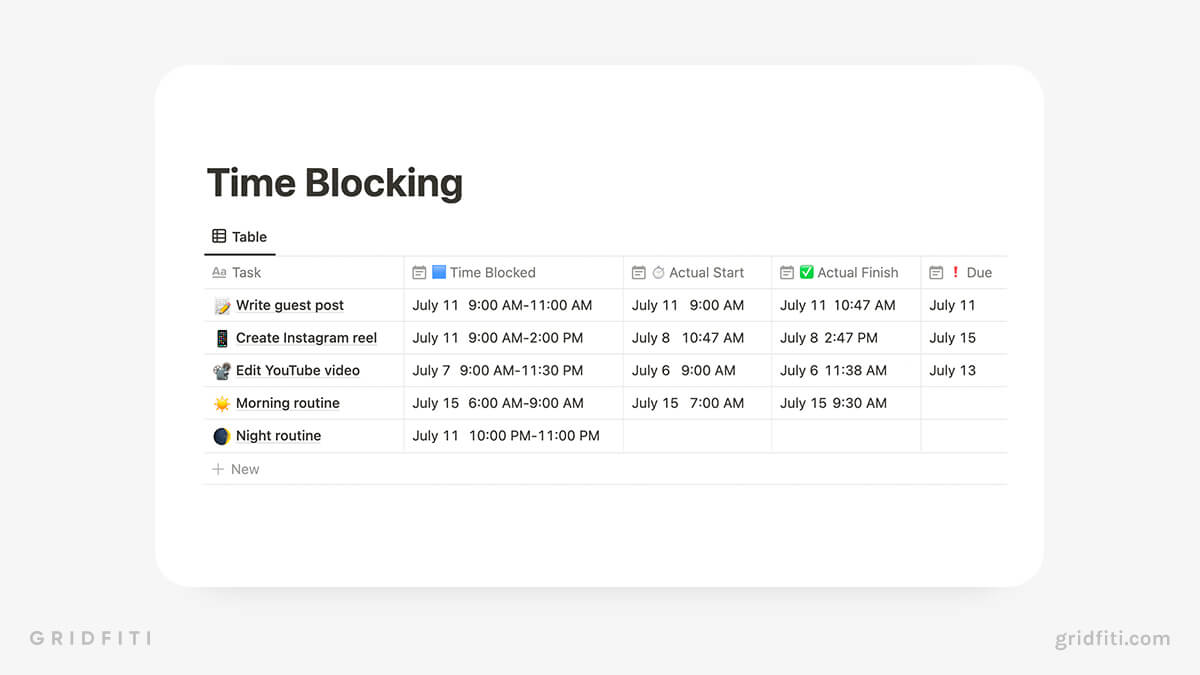
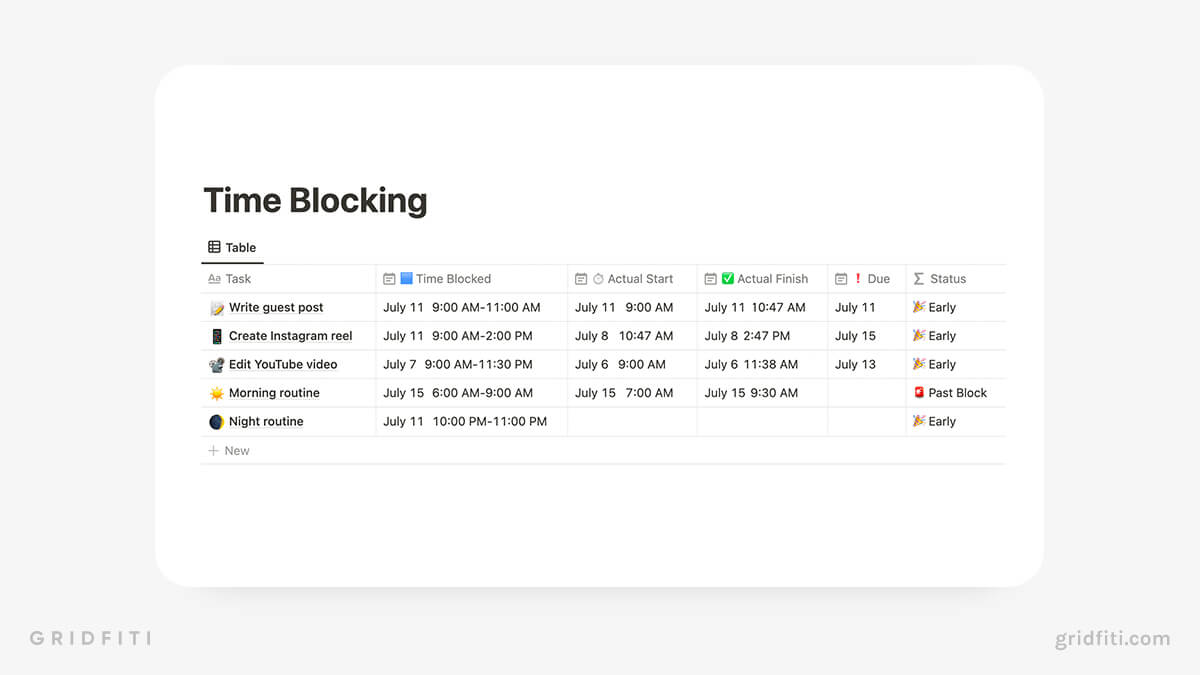
Our favorite method organizes your time blocking database by individual tasks. It also includes a time blocking field as well as two additional date fields so you can see how consistently you finish your tasks within the blocked time.
Here are the properties you’ll need to set this up:
- Task (Title property): This is the name of your task.
- Due (Date property): This is the due date of your task.
- Time Blocked (Date property): This is your time block. Be sure to toggle “End date” and “Include time” in the pop-up window when creating your blocks.
- Actual Start (Date property): This is the time you actually start the task.
- Actual Finish (Date property): This is the time you actually finish the task.
Pro tip: Since your time blocking database will have multiple properties, we recommend adding emojis to each property name so you can quickly differentiate them.
How to Customize Your Notion Time Blocking Database with Filters
Now that you’ve got your basic time blocking database created, it’s time to start adding blocks! As you continue to build out your database, you’ll create a lot of pages, which can get a little cluttered. Keep them organized with filter views! We’ll show you how to set it up, using our time blocking database as an example.
Time Blocking Calendar View
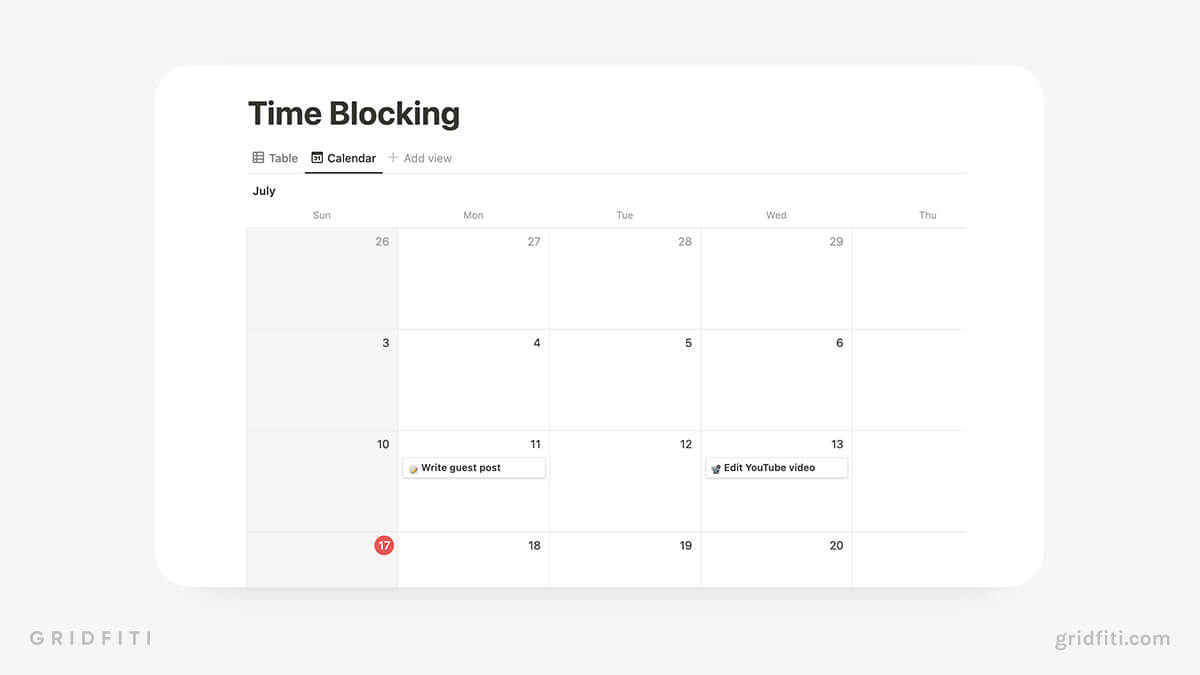
Create a new Calendar view of your time blocking database to see all your blocks laid out neatly. We recommend sorting by “Time Blocked” ascending so each time block displays in order.
If the pages in your database are organized by the hour, you may want to filter the Calendar view to show time blocks scheduled for the current week. (Otherwise, your Calendar view might look quite long!)
To do that, hover over your Calendar view, then click “Filter” in the top right-hand corner of the database. Then, filter by your “Time Blocked” property. We recommend selecting “is within”, then inputting your two dates.
Pro tip: Are you using the Notion Enhancer browser or app extension? Toggle on the “Weekly View” extension to condense your calendar view to the current week!
Power up Your Time Blocking Notion Database with Advanced Properties
Looking to go even more granular? Try adding these properties to your time blocking database.
Relations
Are you a big believer in the PARA method of organization? Have you already built databases for your Projects, Areas, Resources, and Archives? Connect your time blocking database to those databases so you can quickly see how many time blocks you’ve spent on your projects!
Formulas
Wish you could easily see whether you went over your time block for a task? Or if you completed something ahead of schedule? Set up a formula! Here’s the one we used in our time blocking Notion template:
if(dateBetween(prop(“✅ Actual Finish”), end(prop(“🟦 Time Blocked”)), “minutes”) > 0, “🚨 Past Block”, “🎉 Early”)
Need some formula help? Check out this cheat sheet by Ben Smith!
Notion Time Blocking Templates
Not keen on creating your own time blocking Notion setup from scratch? Check out some of our favorite pre-built time blocking templates!
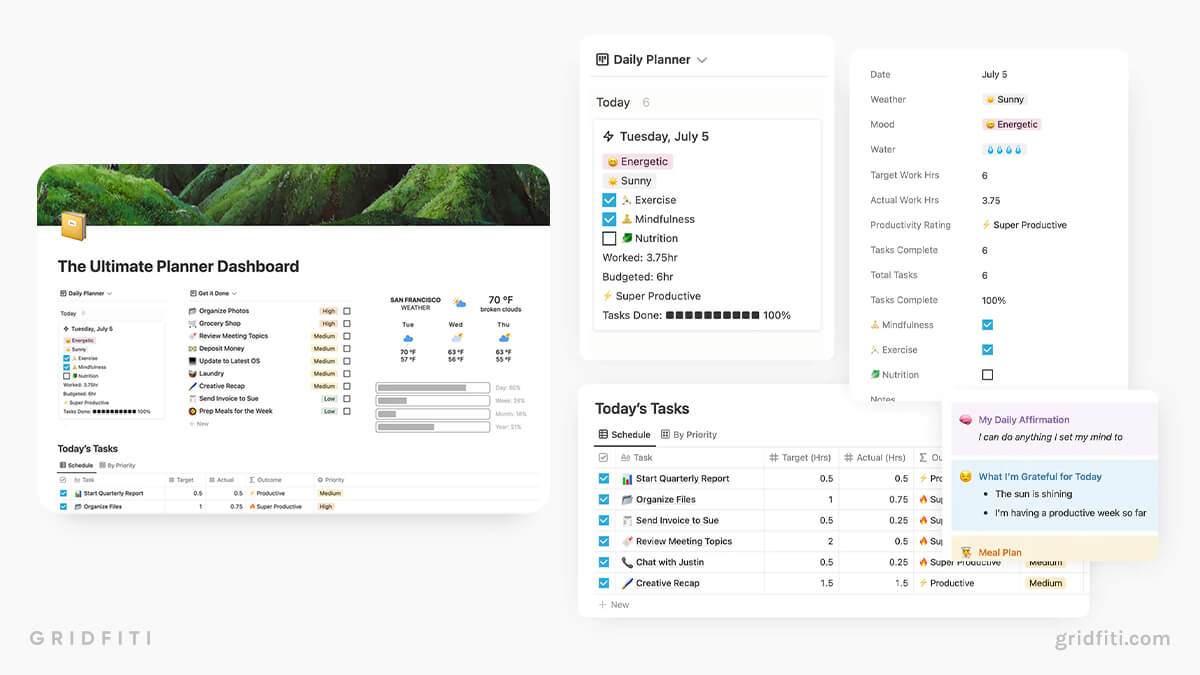
The Ultimate Planner Dashboard with Daily Time Blocking
The Ultimate Planner Dashboard by yours truly is an all-in-one dashboard with integrated daily, weekly, and monthly planning! Each day, map out your different tasks with target amount of work hours spent, and receive automatic productivity ratings per task and per day based on the hours you actually took.
Daily Diary with Time Blocking Template
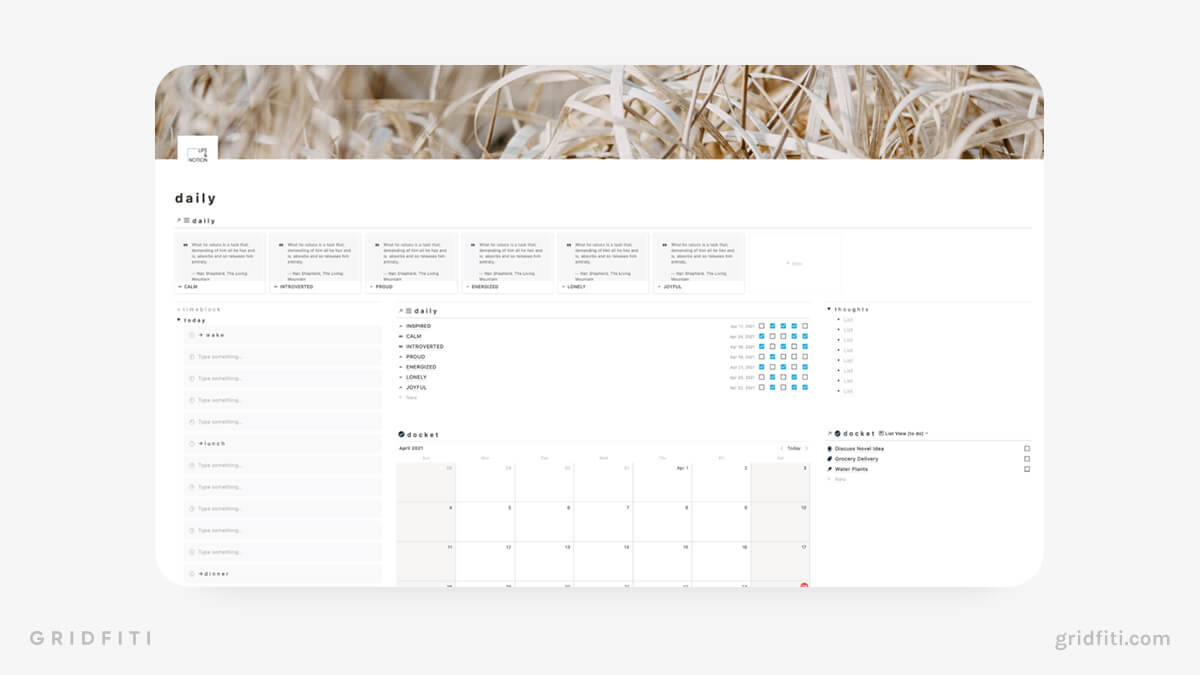
This template is perfect for anyone seeking a minimalist time tracking Notion template. Instead of simple tables or databases, this template organizes time blocks in Callout blocks nested in a toggle for each day, ensuring all your blocks stay nice and tidy.
Notion Time Blocking Tool
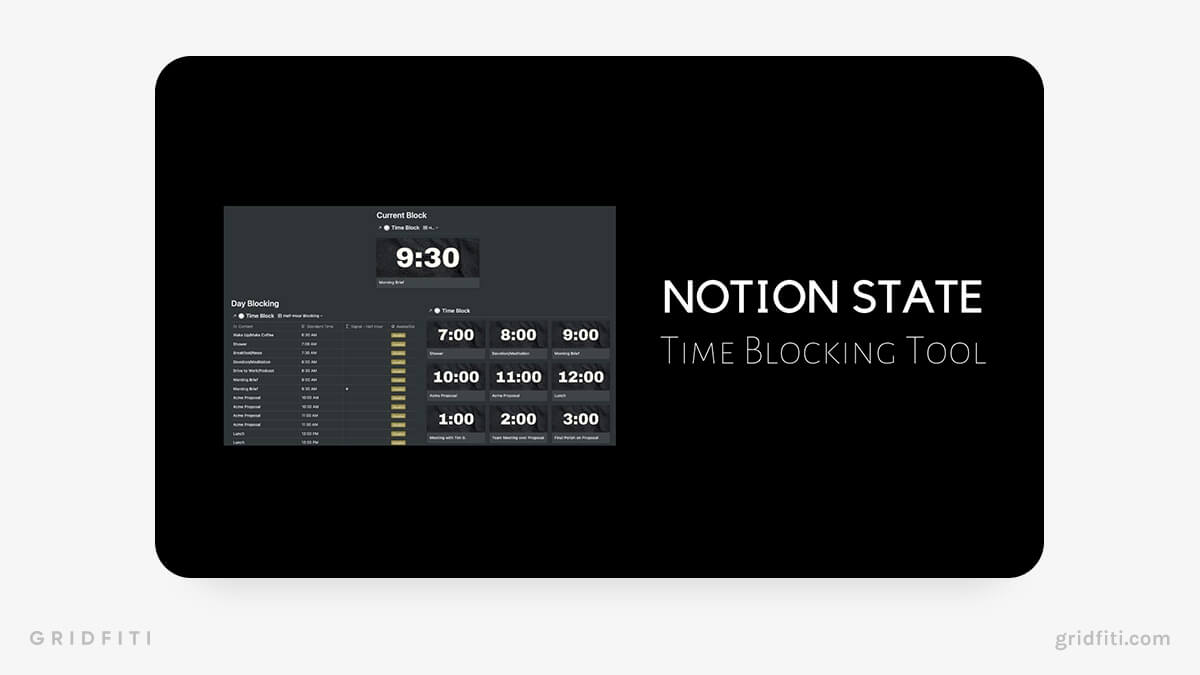
This aesthetic time blocking Notion template is well designed and includes advanced features, like filtering out empty blocks based on your sleep schedule and the ability to see your time blocks anywhere in Notion with a handy formula.
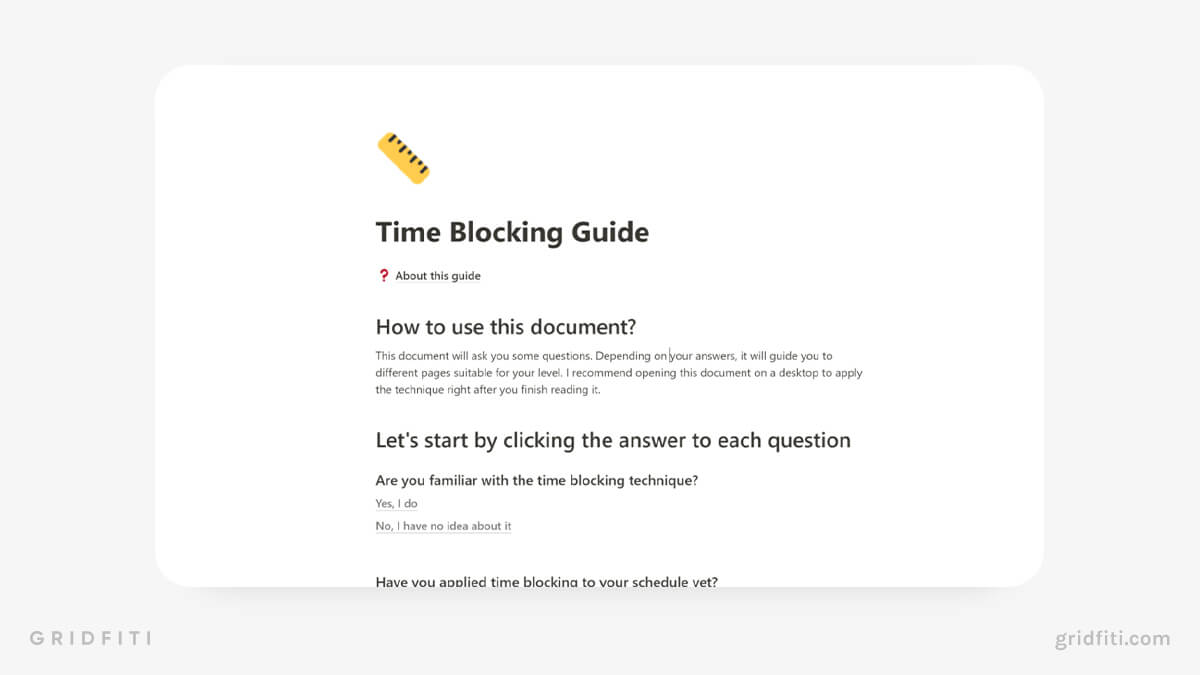
Notion Time Blocking Guide Template
This template takes a different approach to time blocking — each database page is an hour-long block, with tasks included as a Text property. This is a neat template for anyone seeking an agile and up-to-the-minute time blocking solution.
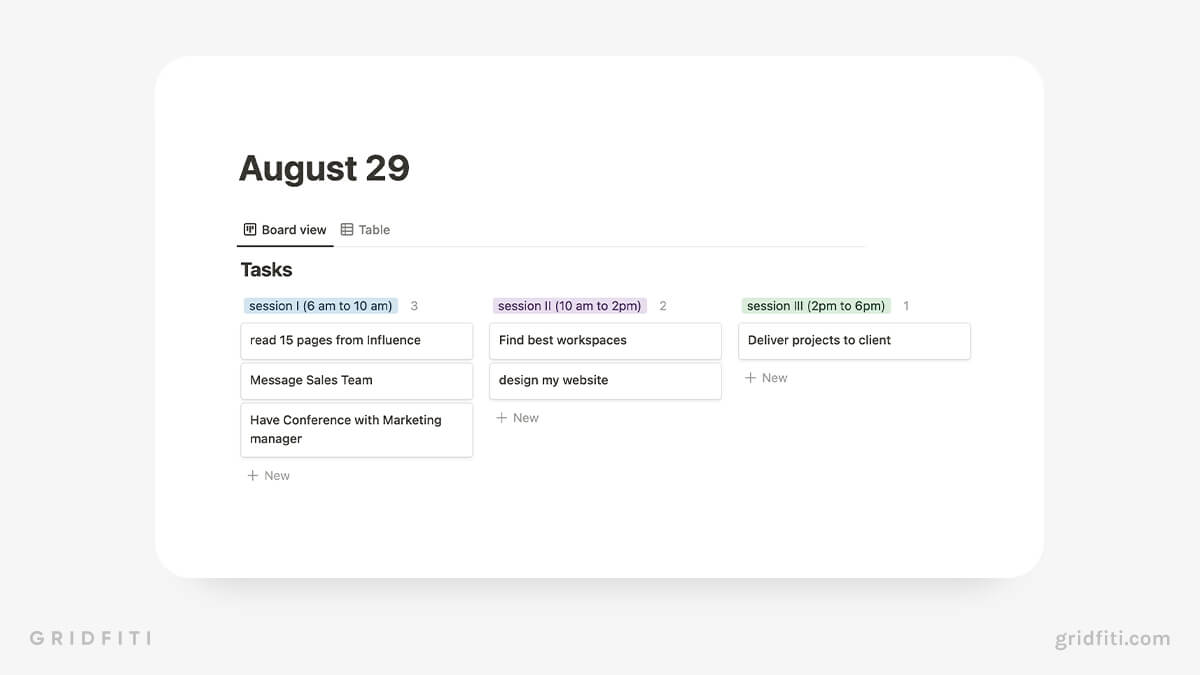
Minimal Time Blocking System
Instead of hour-long time blocks, this template organizes time blocks into four-hour blocks called “sessions” instead. Perfect for anyone whose schedule is fluid or unpredictable, or just those who want a big-picture overview of their day!
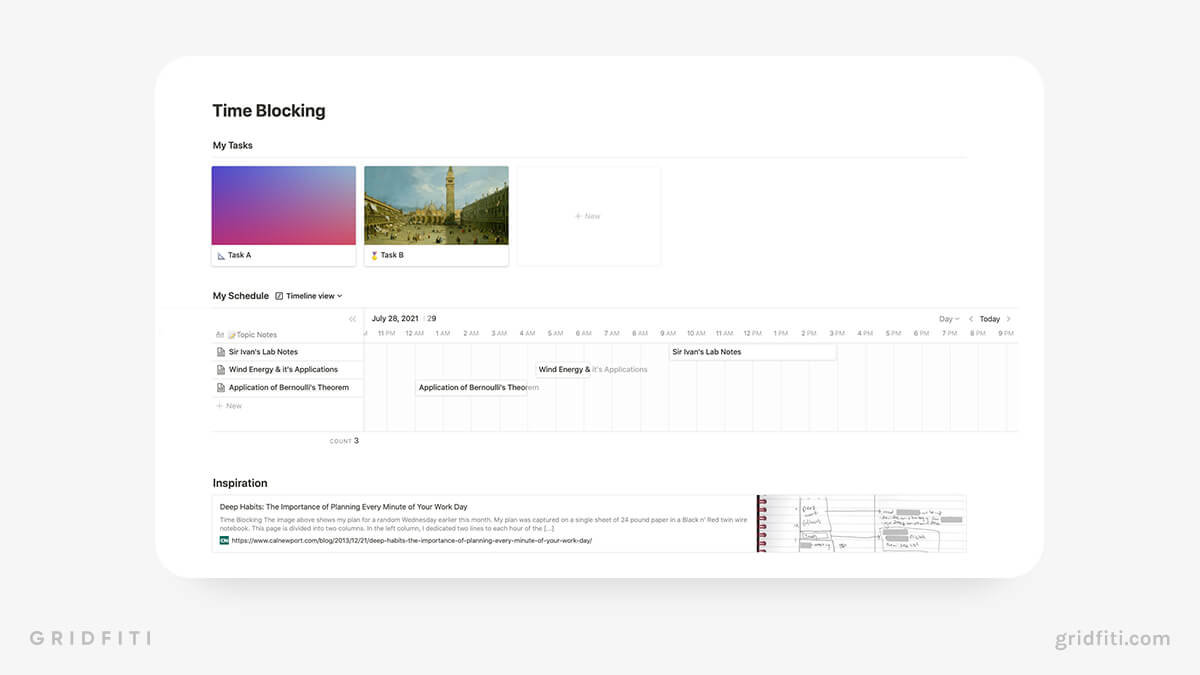
Time Blocking Notion Template Inspired by Cal Newport
This super minimalist time blocking Notion template features a task management database as well as a time blocking database. Inspired by Cal Newport’s bestseller Deep Work, this time blocking template is sure to keep you on task!
Which way are you going to time block in Notion? Any other great Notion time blocking templates for us to check out? Let us know in the comments below!
Gridfiti is supported by its audience – when you buy something using the retail links in our posts, we may earn a small commission at no additional cost to you. Read more about our affiliate disclaimer.
