There are many ways to streamline your photo editing process in Lightroom to speed up your workflow, especially when you have a series of photos captured in similar lighting conditions. Applying Lightroom presets to multiple photos not only ensures consistency across your photos, but just makes your editing workflow much more efficient.
Whether you’re looking to apply a custom edit across wedding shots, vacation photos, or simply want to get your Lightroom imports brushed up before starting a fresh edit, batch editing is the answer to speeding up your workflow.
Let’s dive into the steps, tricks and tips and learn how to apply a preset to all photos in Lightroom!
Want more presets and tips? Check out our several Lightroom preset packs and more preset guides!
Table of Contents
3 Ways to Apply Presets to Multiple Photos in Lightroom
Depending on the tasks at hand, there are several ways to use batch editing. Whether it be a custom preset for all photos, a few selected photos, or a simple starter preset on import of your photos into Lightroom, here are a few defining guidelines on each of the batch editing options:
- Applying Presets on Import: Automatically apply a preset (new or existing) on import of your photos into Lightroom.
- Applying Presets in Your Library: Apply a preset to large batches of photos in your Library at once.
- Applying Presets in the Develop Module: Applying a preset (new or existing) on a photo, and synchronizing a batch of photos with this preset within the Develop module.
Before we jump in, here are some simple terms we’ll be referring to in each process:
- Cmd/Ctrl: Simply the abbreviation we’ll use, referring to the ⌘ Command (Cmd) key on Mac, or Control (Ctrl) key on Windows.
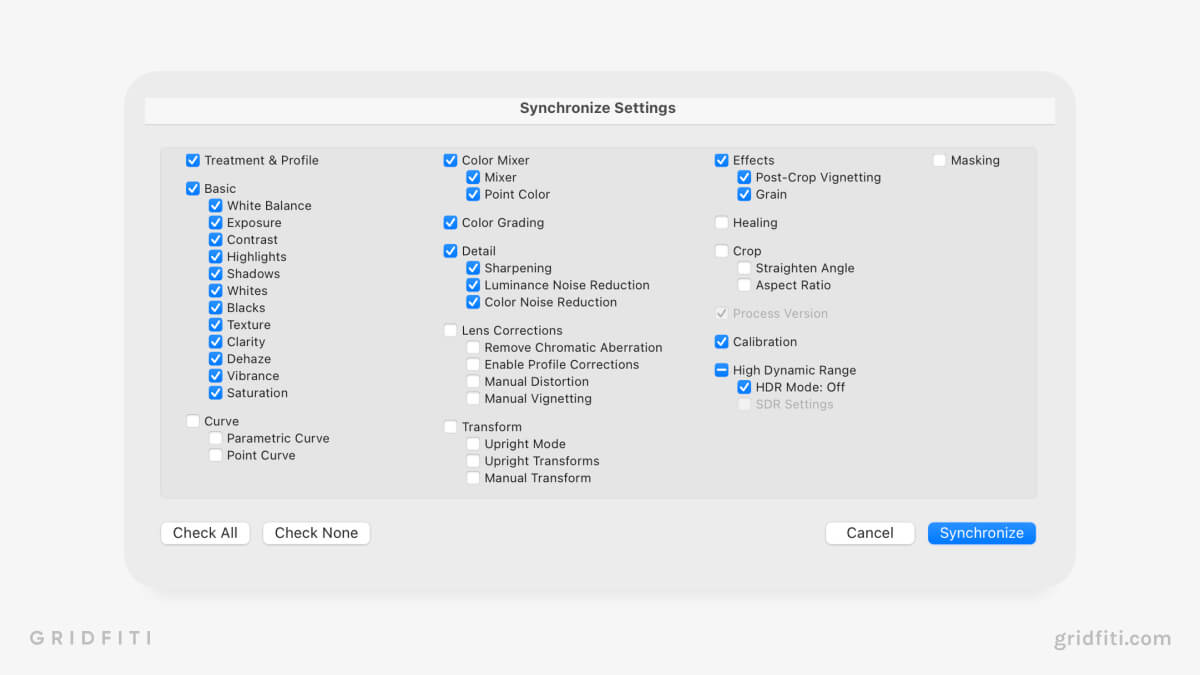
- Synchronize Settings Box: This box (pictured below) comes up when you’re looking to synchronize a preset you’ve made onto other photos within the Develop Module. You’re able to select the editing parameters you’d like to copy over, then click ‘Synchronize’.
1. Applying Presets on Import
This method applies a custom preset to a batch of photos upon importing them into Lightroom. You can use this method to get a finalized preset look on all your photos — this ends up being tricky as most large imports will contain photos with varying colors and lighting conditions, so one preset might not suit all.
This method is commonly reserved just to get your photos imported and started with base corrections and edits. Think of a preset that corrects things like Lens Corrections, Camera Calibration and even adding/removing vignetting. Once you have that base preset built and saved, follow these instructions to apply it on import:
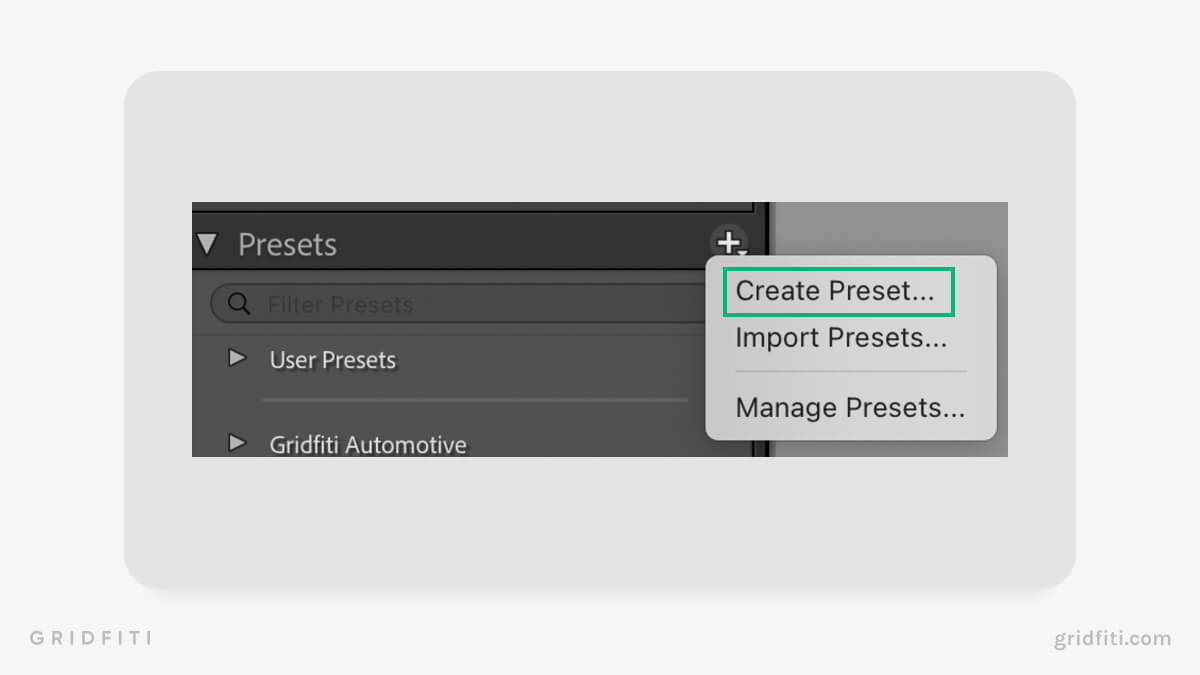
1. Create a preset on a photo within the Develop Module. Click the ‘+’ button next to the Presets dropdown on the left side of the screen and select ‘Create Preset’. Name it and save it by selecting the ‘Create’ button.
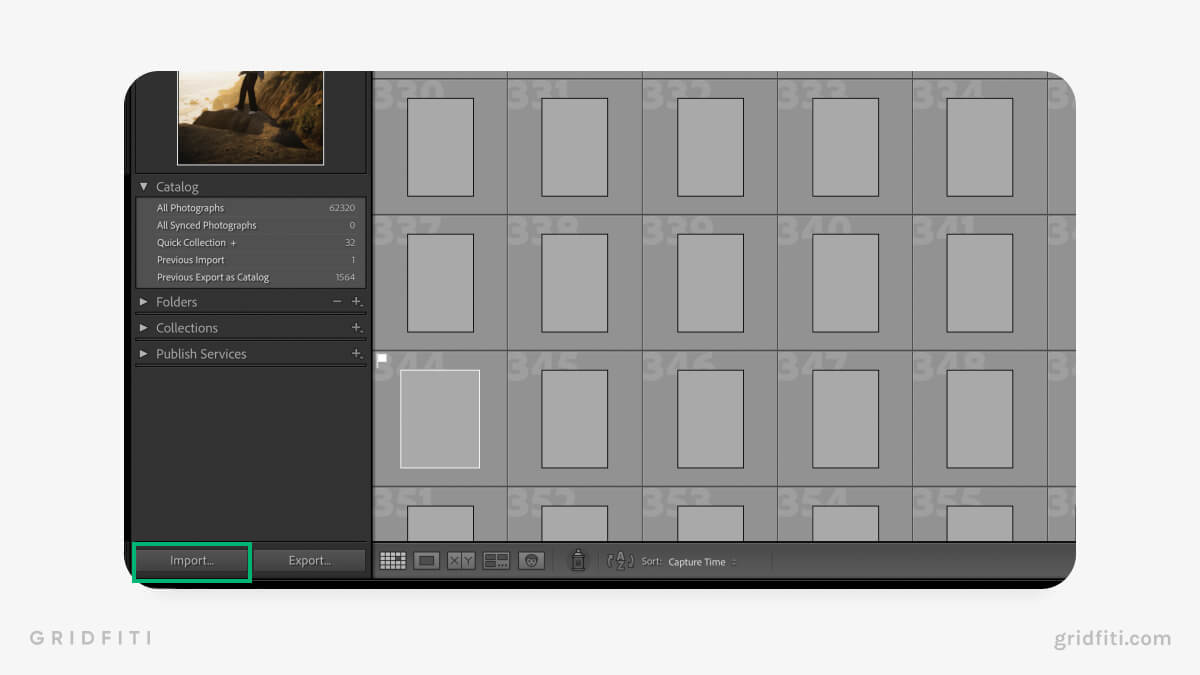
2. Once this preset is created, go to the Library Module and press the ‘Import’ button at the bottom left.
3. Find your image source folder, and select the photo files you’d like to import.
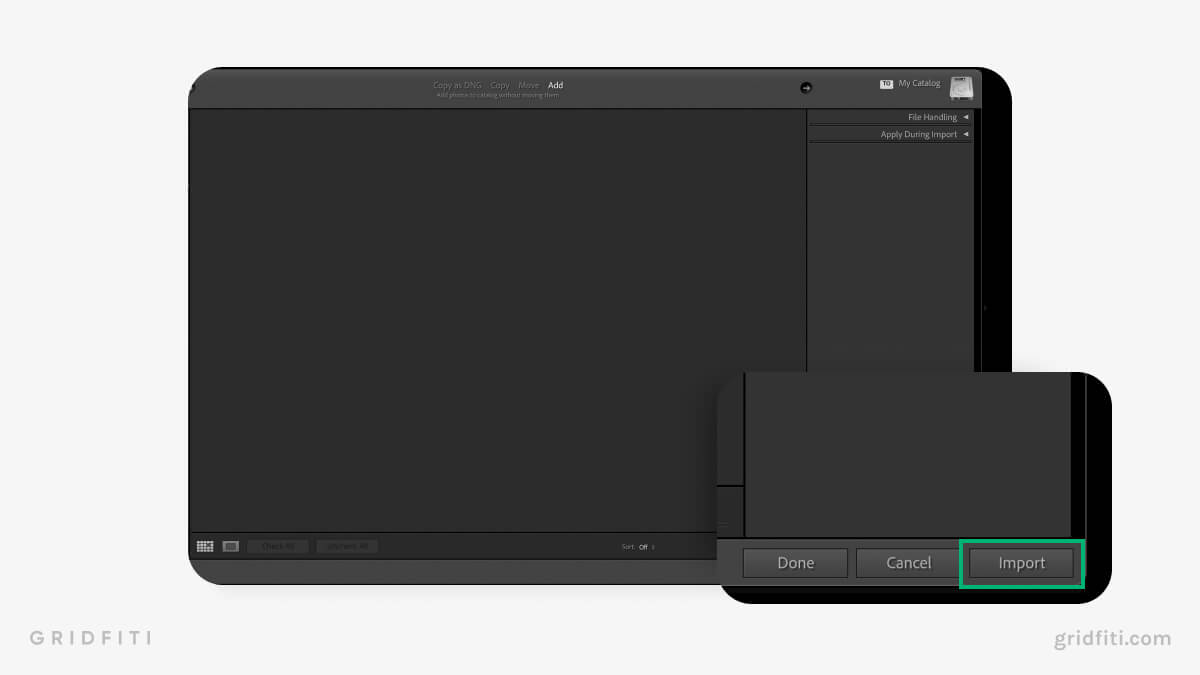
4. Navigate to the ‘Apply During Import’ dropdown on the top right of the screen, and expand it.
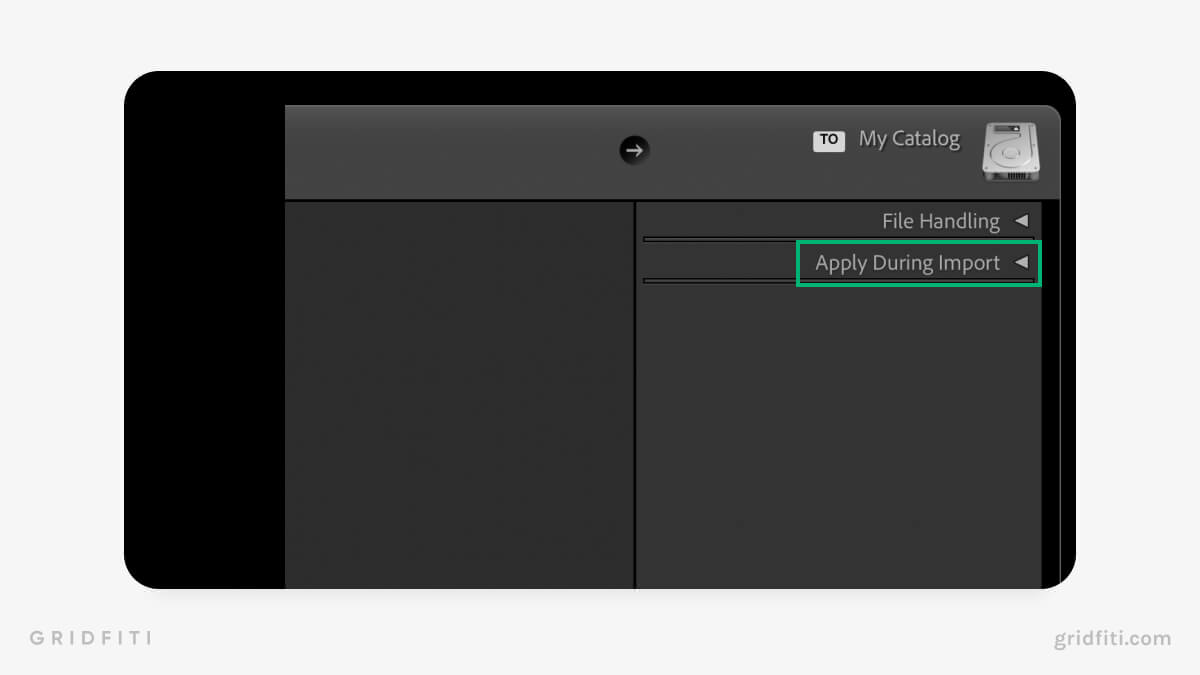
5. Open up the ‘Develop Settings’ dropdown, find the preset you just created, and select it.
6. Once the preset is selected, press the ‘Import’ button at the bottom right, and voila! You’ll have your selected photos imported with your selected preset automatically applied.
2. Applying Presets in Your Library
This method is a simple way of applying a preset to a large collection of photos within your library.
This is ideal if your photos were captured in similar lighting conditions so the preset isn’t initially destructive to the varying types of photos. This option also provides a better bird’s eye view at your photo grid to make selections (as opposed to the photo strip in the Develop Module). Follow these instructions to apply presets in the Library Module:
1. Create a preset on a photo within the Develop Module. Click the ‘+’ button next to the Presets dropdown on the left side of the screen and select ‘Create Preset’. Name it and save it with the ‘Create’ button.
2. Go to the Library Module in the Grid view and select the images you’d like to apply your presets to. Use the keyboard shortcut ‘Cmd + A’ (Win) or ‘Ctrl + A’ (Mac) to select all the photos, or just hold ‘Cmd’ or ‘Ctrl’ and select specific photos with your mouse (or ‘Shift’ for multiple adjacent photos).
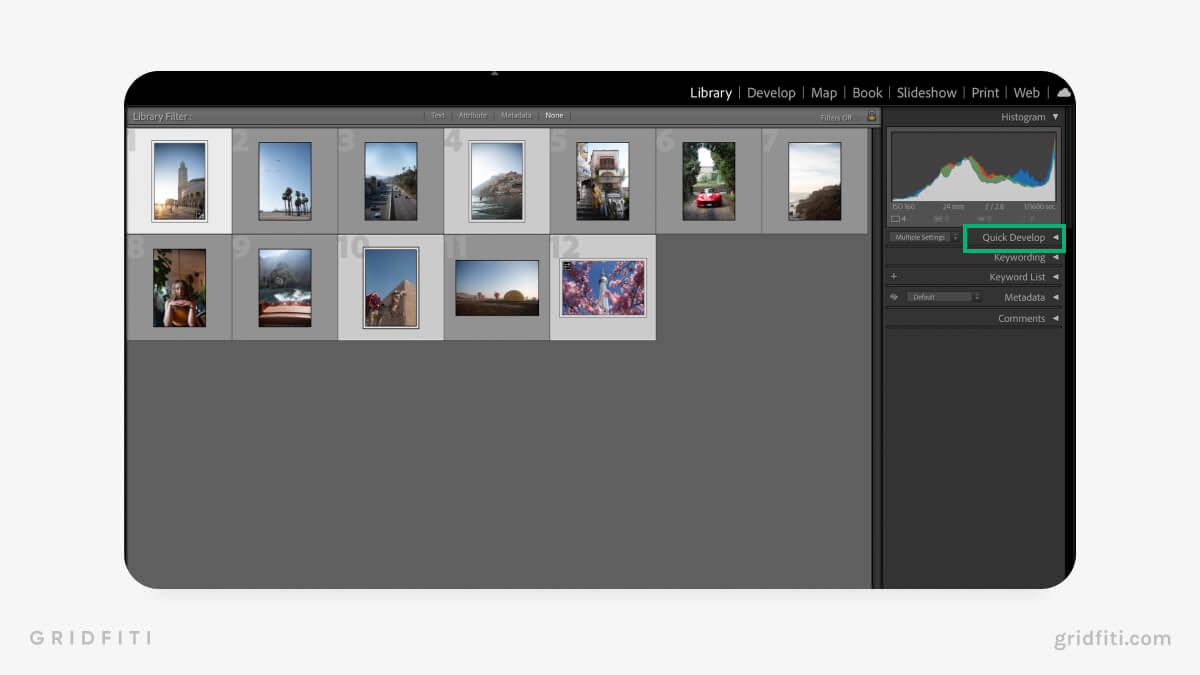
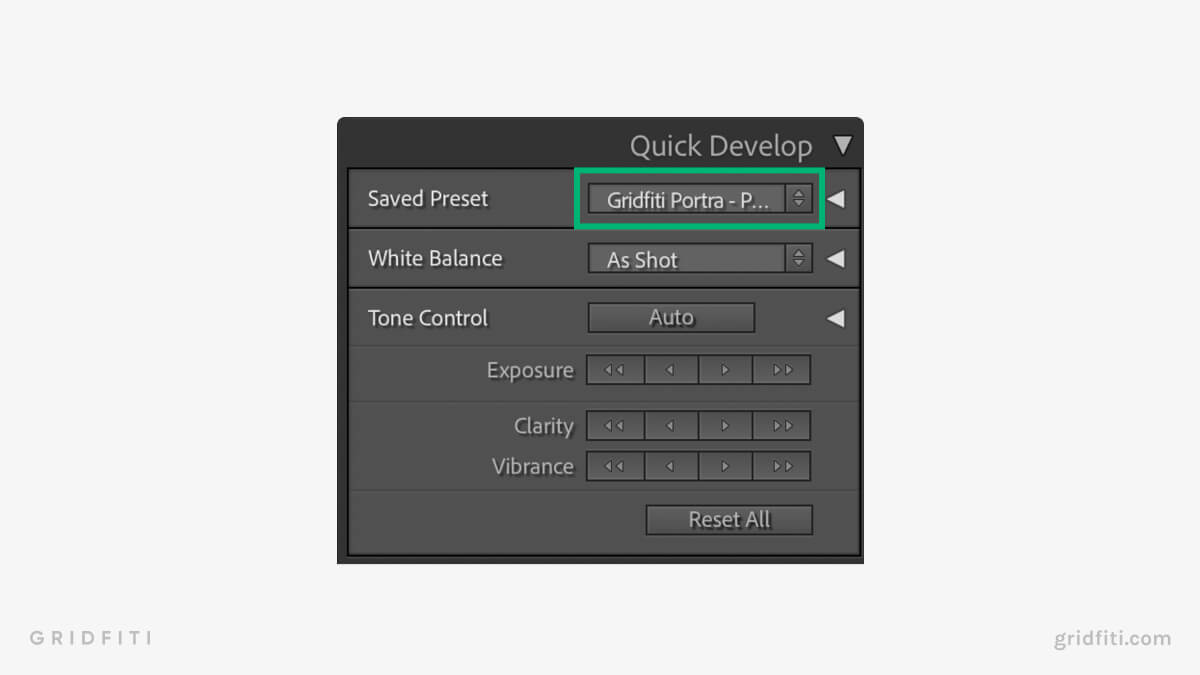
3. Navigate to the ‘Quick Develop’ dropdown on the right side of the screen and select the preset you created within the ‘Saved Preset’ box.
4. Click the ‘Sync Settings’ box at the bottom right.
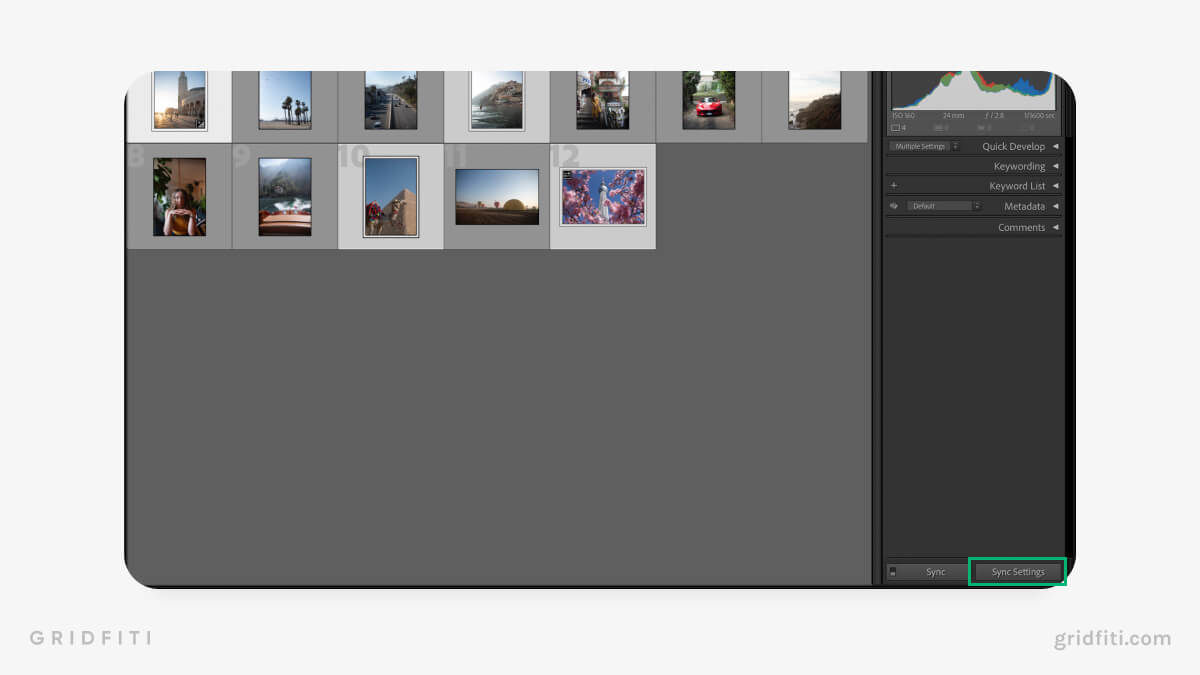
5. Check the boxes of the editing parameters you want to apply to your selected photos, then press the synchronize button, and you’re done!

Take your photography to the next level with these professional and free mobile Lightroom presets:
- Free Summer Portra Preset | Full Pack: Ultimate Portra Preset Pack
- Free Fujifilm Dynamic Preset | Full Pack: Ultimate Fujifilm Preset Pack
- Free Tinted Kodak Gold Preset | Full Pack: Ultimate Kodak Gold Preset Pack
3. Applying Presets in the Develop Module
This method is used when applying a preset to a single photo, then syncing the settings from this photo with a selected batch of photos in the Develop Module. Follow these steps to apply a preset to your photos in the Develop Module:
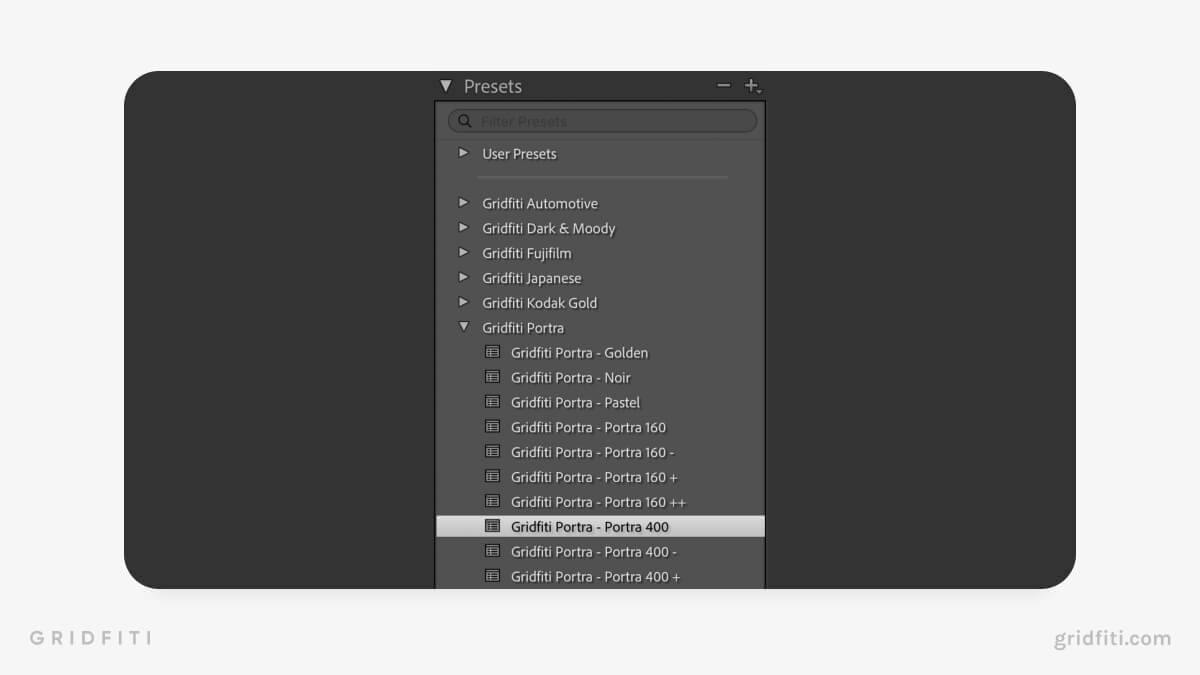
1. Navigate to the Develop Module and go to the Presets panel on the left of the screen. Select your desired preset here and apply it to a photo. In this example, we used one of our own Gridfiti Portra presets, just one of our many available premium presets for Lightroom desktop and mobile!
2. Select the photo you’ve edited. Then select the other photos you want this edit applied to (by holding down Cmd or Ctrl). Lightroom will use the first photo you selected as the one to copy the edits from.
3. Press the ‘Sync’ Button.

4. Check the boxes of the editing parameters you want to apply to your selected photos, then press the synchronize button, and you’re done!
We hope this guide helps you speed up your editing workflow in Lightroom. Are there any other tips you’d like? Let us know in the comments below!
Gridfiti is supported by its audience – when you buy something using the retail links in our posts, we may earn a small commission at no additional cost to you. Read more about our affiliate disclaimer.